
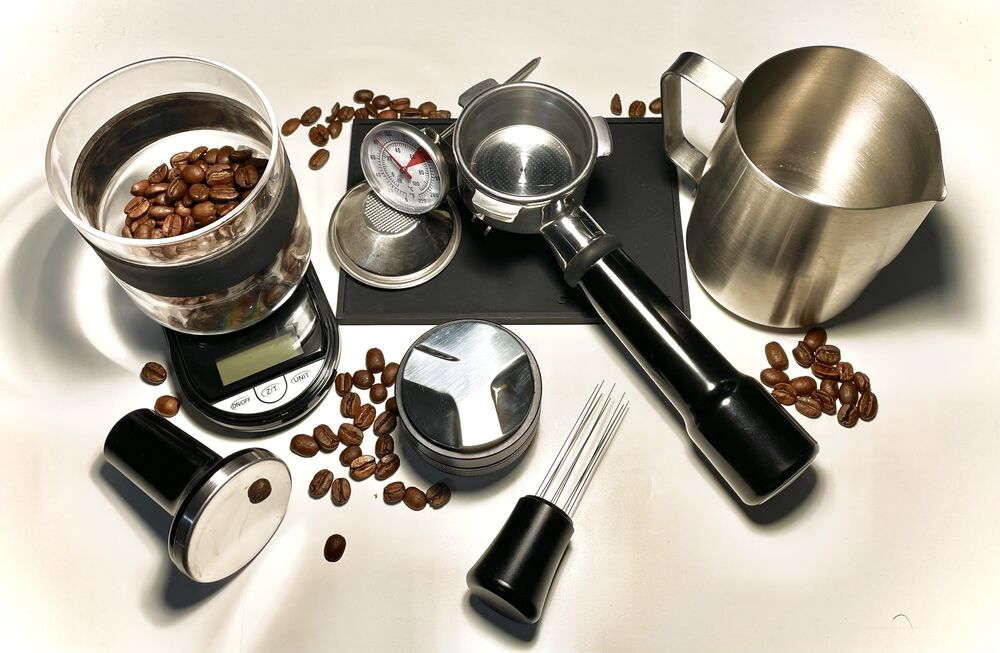
Quick fix: Sour and bitter in the same sip, or a shot that gushes, spurts or sprays sideways, usually means channeling: water has found a shortcut through the puck. Leave the grinder alone for now and fix the prep. Break up clumps, distribute evenly, tamp level, skip the tap after tamping and start with a clean, dry basket.
Reviewed 24 Oct 2026 by the PCA Editorial Team · All espresso fixes
Your grind didn’t move. Your beans didn’t change. Yet this morning’s shot gushed out in fifteen seconds and tasted sour and bitter at the same time, like a lemon that had been left on the stove.
Meet channeling: the espresso version of a leak in a dam.
What channeling actually is
An espresso puck is a bed of fine coffee that has to resist water pushed at it under pressure. Water is lazy. If one area of the puck is looser or thinner than the rest, the water rushes through there.
That’s not just barista folklore. Researchers modelling espresso extraction found that at fine grind settings, measured extraction yields fell below what an evenly flowing bed should give, which “strongly suggests that inhomogeneous flow is operative” and makes shots harder to repeat (Cameron et al., Matter, 2020).
In plain terms: uneven flow wastes coffee and makes your results less predictable. Same recipe, different shot, every morning.
How to tell if your shot is channeling
You don’t need lab gear. You need your tongue, your eyes and about thirty seconds of attention.
- Taste: sour and bitter together, or thin with a harsh, drying finish.
- Flow: the shot runs faster than yesterday’s at the same grind, or suddenly speeds up halfway through.
- Bottomless portafilter: pale spots, or thin jets spraying sideways from one area of the basket.
- Spent puck: pinholes, cracks, or a soggy patch on one side.
Sour plus bitter is the classic giveaway. Sour on its own usually means the whole shot is under-extracted; bitter on its own usually means it’s over-extracted. Our espresso dial-in guide has a fix for each.
The usual suspects
Channeling rarely has one cause. It’s normally a small pile-up of them.
- Clumps from the grinder. Clumps pack differently from loose grounds and leave soft spots.
- Uneven distribution. A mound in the middle, or coffee heaped to one side, becomes a dense zone next to a thin one.
- A tilted tamp. One side of the puck ends up thinner, and water picks that side every time.
- Tapping the portafilter after tamping. A tap can break the seal between the coffee and the basket wall and open a channel around the edge (Home-Barista, The Professional Barista’s Handbook).
- A wet or dirty basket. Old grounds and water droplets make the bed uneven before you’ve even started.
Fix it: a six-step puck-prep routine
This takes about a minute once it’s habit. Do it the same way every time, because consistency is the whole point.
- Wipe the basket clean and dry before you dose.
- Weigh your dose so the basket gets the amount it was designed for. Guessing by eye is how one shot gets 16 g and the next gets 19 g.
- Stir with WDT. The Weiss Distribution Technique uses fine needles to stir the grounds in the basket, breaking up clumps and evening out density. Barista Hustle found that needles thicker than about 1 mm worked against you in its testing (so a toothpick is too thick), and that stirring all the way to the bottom of the basket gave more consistent puck resistance than stirring only the surface (Barista Hustle). Stir gently; frantic stirring can create new dense spots.
- Tamp once, and tamp level. Press just firmly enough to remove air gaps. The pump pushes far harder during extraction than your arm ever will, so extra force does little for flow, and a lighter tamp is easier to keep level (Home-Barista).
- Don’t tap after tamping. Brush loose grounds off the rim instead.
- Pull the shot straight away, then taste and change one thing at a time.
A quick troubleshooting table
| What you see | Most likely cause | Try this first |
|---|---|---|
| Jets spraying from one spot | Clumps or a soft spot | WDT all the way to the bottom |
| One side of the basket flows first | Tilted tamp or lopsided dose | Level the bed, then tamp flat |
| Ring of fast flow around the edge | Tap after tamping, or a broken edge seal | Stop tapping; brush the rim instead |
| Fast, sour-and-bitter shot after grinding finer | Puck can’t handle the finer grind evenly | Fix prep before going finer again |
| Sudden channeling after months of good shots | Something changed: beans, basket, or a worn group gasket | Check the last thing you changed first |
Do you need special tools?
No. A basic WDT tool is cheap, and a few thin needles pushed into a cork do the same job.
Be wary of spinning “distribution” discs that sit on top of the coffee. Barista Hustle notes that these mainly level the surface and generally don’t seem to change distribution lower in the puck (Barista Hustle). A level tamper and a 0.1 g scale will do more for you than any gadget.
Grind finer, or fix the puck first?
Here’s the trap. A fast shot tempts you to grind finer. But if the puck is channeling, a finer grind can make the problem worse: the bed gets tighter, water pushes harder, and it bursts through the weakest spot even faster.
So use this rule of thumb. If grinding one step finer makes the shot taste better, keep going. If it makes the shot taste harsher, thinner or more chaotic, stop and fix your puck prep before touching the grinder again. The Cameron et al. modelling points the same way: fine grinds are where uneven flow showed up.
What if your machine has a pressurized basket?
Many entry-level home machines ship with a pressurized (dual-wall) basket that builds pressure through one tiny exit hole rather than relying on the puck. Puck prep matters less there, so the usual channeling signs are harder to read. Switch to a standard single-wall basket and you’ll need fresh coffee ground fine enough for espresso, and the routine above becomes essential. Not sure which you have? Our guide to pressurized vs non-pressurized baskets shows you how to check in ten seconds.
Learn this step by step: our free short video course Dial In Espresso by Taste covers puck prep, the 1:2 ratio and how to read sour versus bitter shots, with short lessons and quizzes.
Frequently asked questions
Does tamping harder stop channeling?
Not really. Once the air gaps are gone, extra force has little effect on flow. A level tamp matters far more than a hard one.
Can a finer grind cause channeling?
It can make it more likely. Research on espresso extraction found signs of uneven flow at fine grind settings (Cameron et al., 2020). If going finer makes the shot taste worse, fix your puck prep before going finer again.
Is WDT worth it at home?
For most home grinders, yes. It takes a few seconds and goes straight at clumps, one of the most common causes of an uneven puck.
Why does my shot spray everywhere with a bottomless portafilter?
Spraying jets usually mean water has found a weak spot in the puck: a clump, a void or a thin area. Start with WDT to the bottom of the basket and a level tamp, then check that you’re not overfilling or underfilling the basket.
Is a little channeling normal?
A stray droplet or a tiny spurt late in the shot is common and doesn’t necessarily ruin the cup. Judge by taste. If the espresso is sweet and balanced, don’t chase a perfect-looking stream.
Keep learning
- Espresso Dial-In Guide: Fix Sour, Bitter, Fast or Slow Shots
- Espresso Extraction Workflow
- Coffee Extraction Science
- Barista-Style Coffee at Home
Sources
- Cameron, M. I. et al. (2020). Systematically Improving Espresso: Insights from Mathematical Modeling and Experiment. Matter 2(3), 631–648.
- Barista Hustle (2021). Weiss Distribution Technique.
- Home-Barista.com. The Professional Barista’s Handbook: Tamping.
Checked 23 October 2026.
Featured image: “Espresso Coffee Gear” by TheHolyCessna553, via Wikimedia Commons, CC0 1.0.
Leave a Reply